HOW TO INSTALL LAMINATE FLOORING

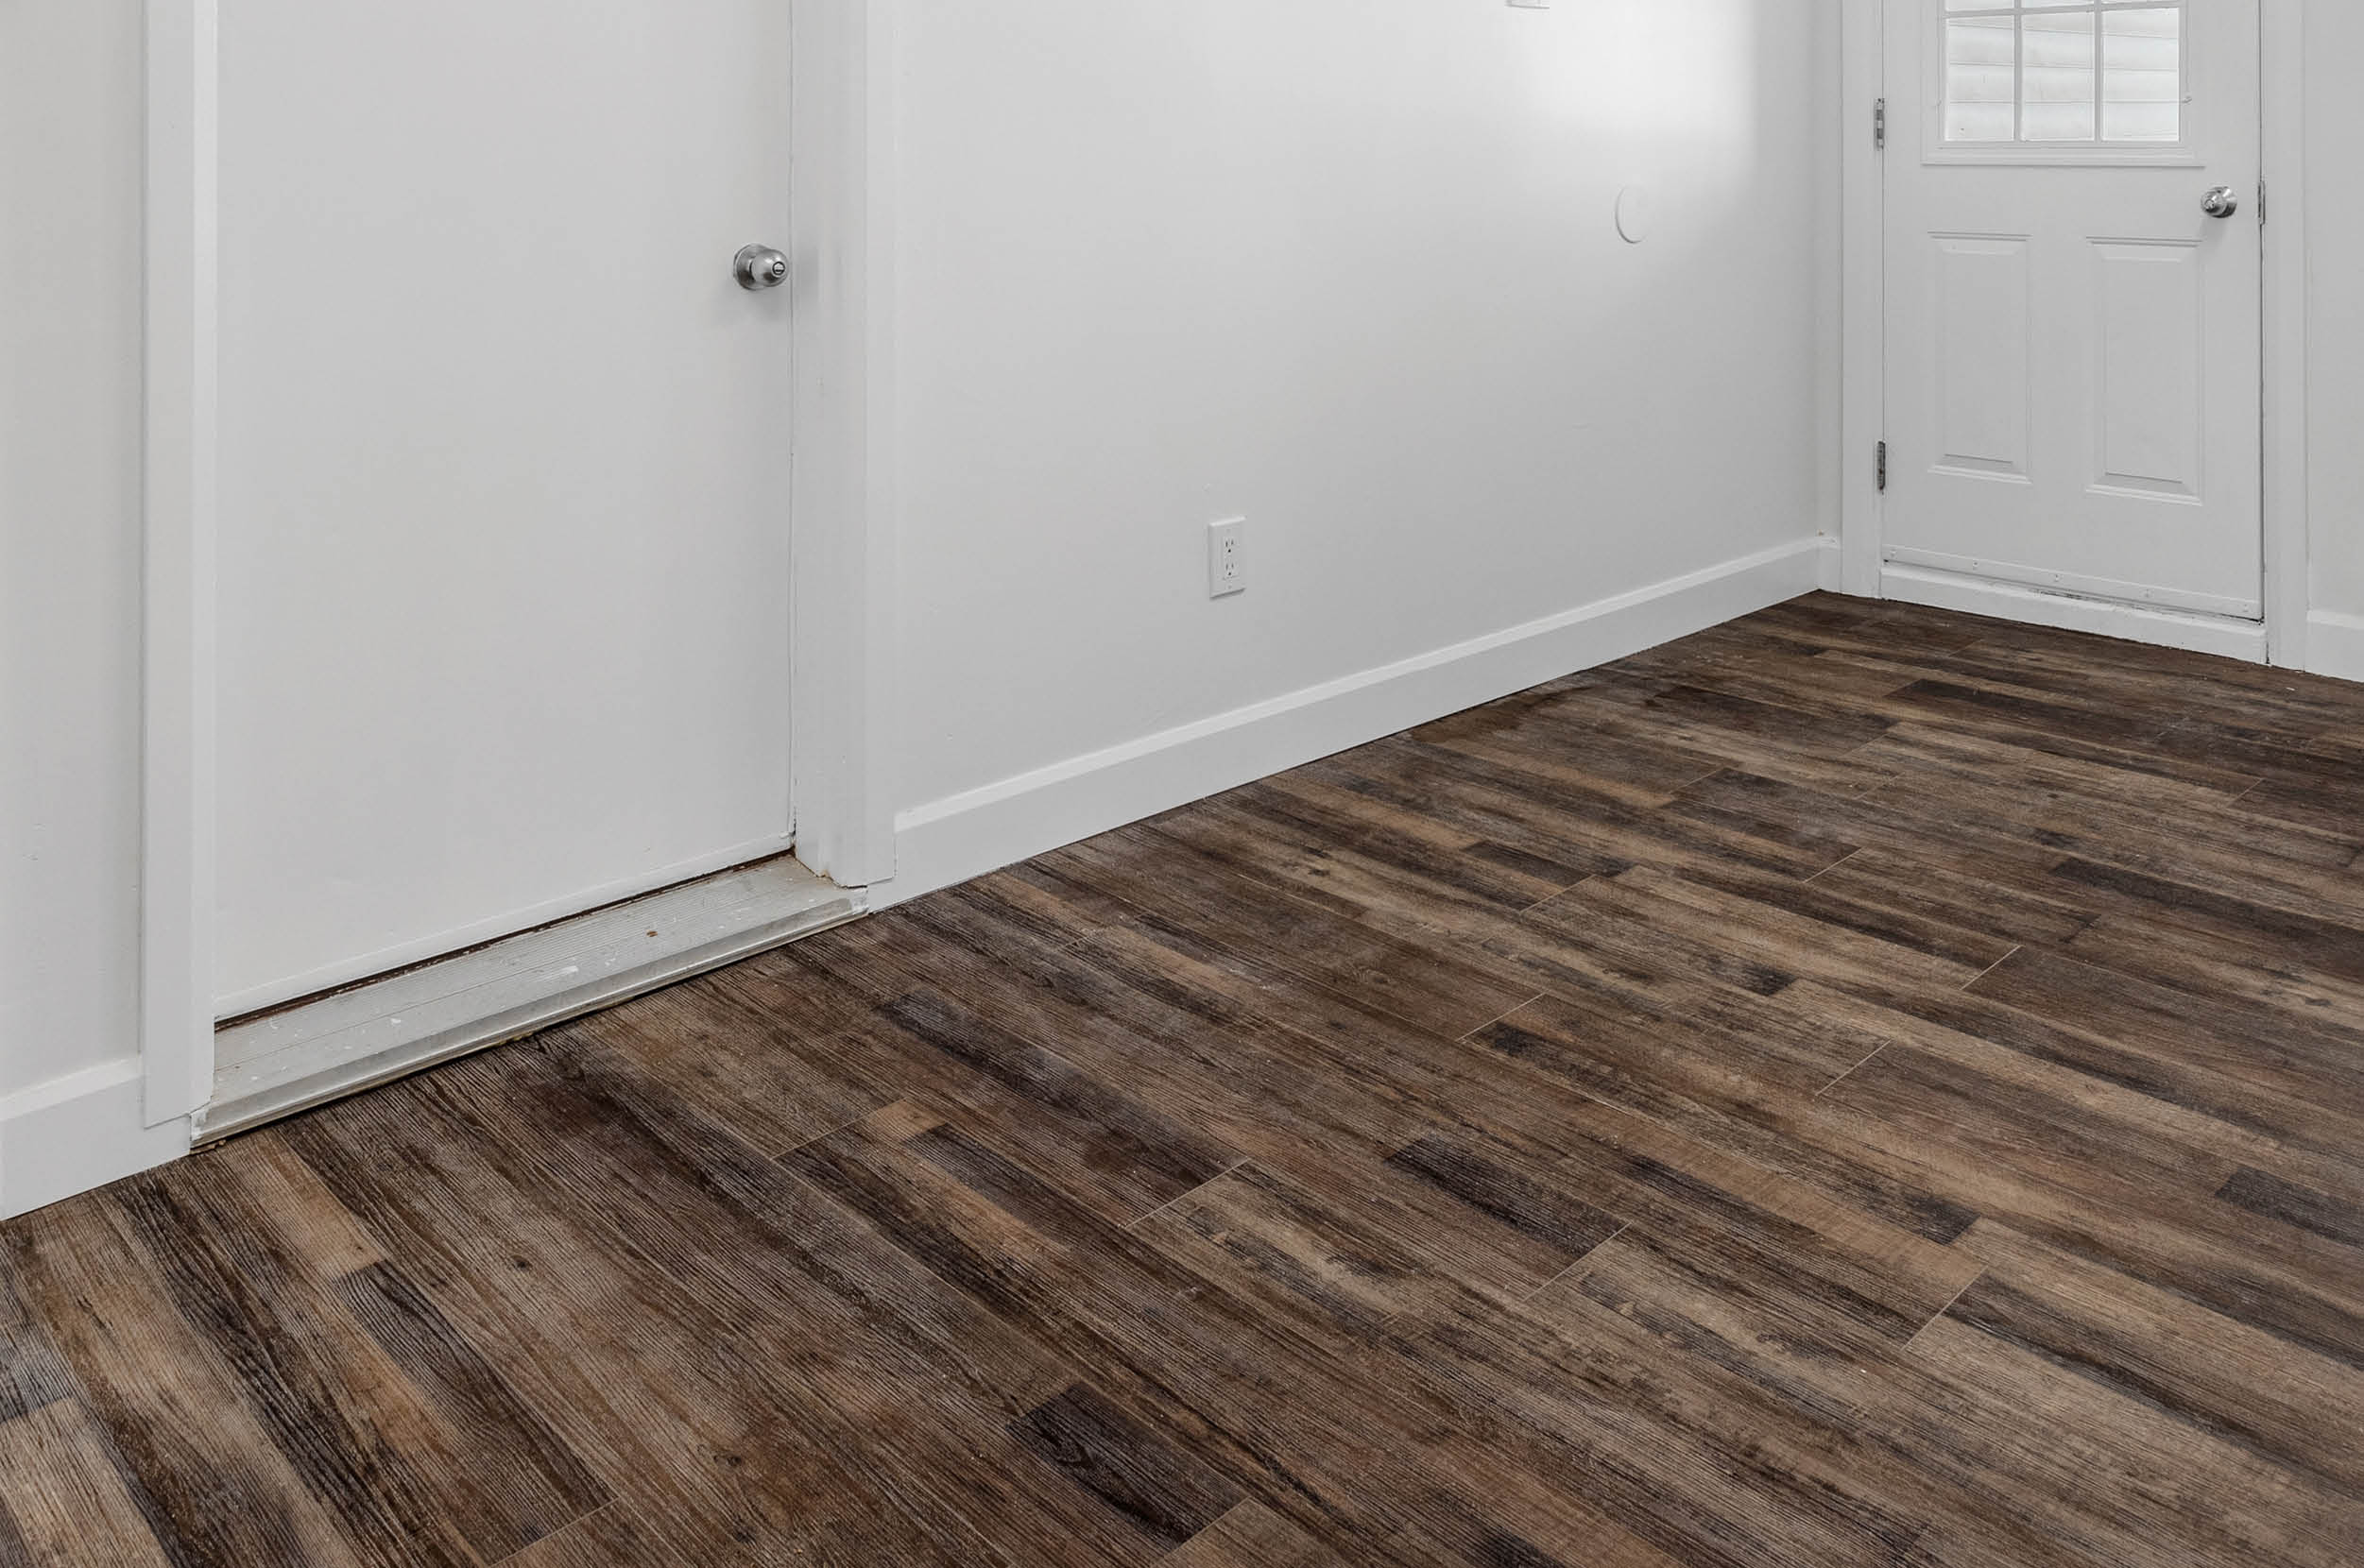
Laminate flooring undeniably boasts an appealing look.
When installed, maintained, and cared for correctly, its beauty can last for many years.
Chamberlains Tip:
Purchase an additional box of flooring as a precaution for any potential mishaps.
What you will need:
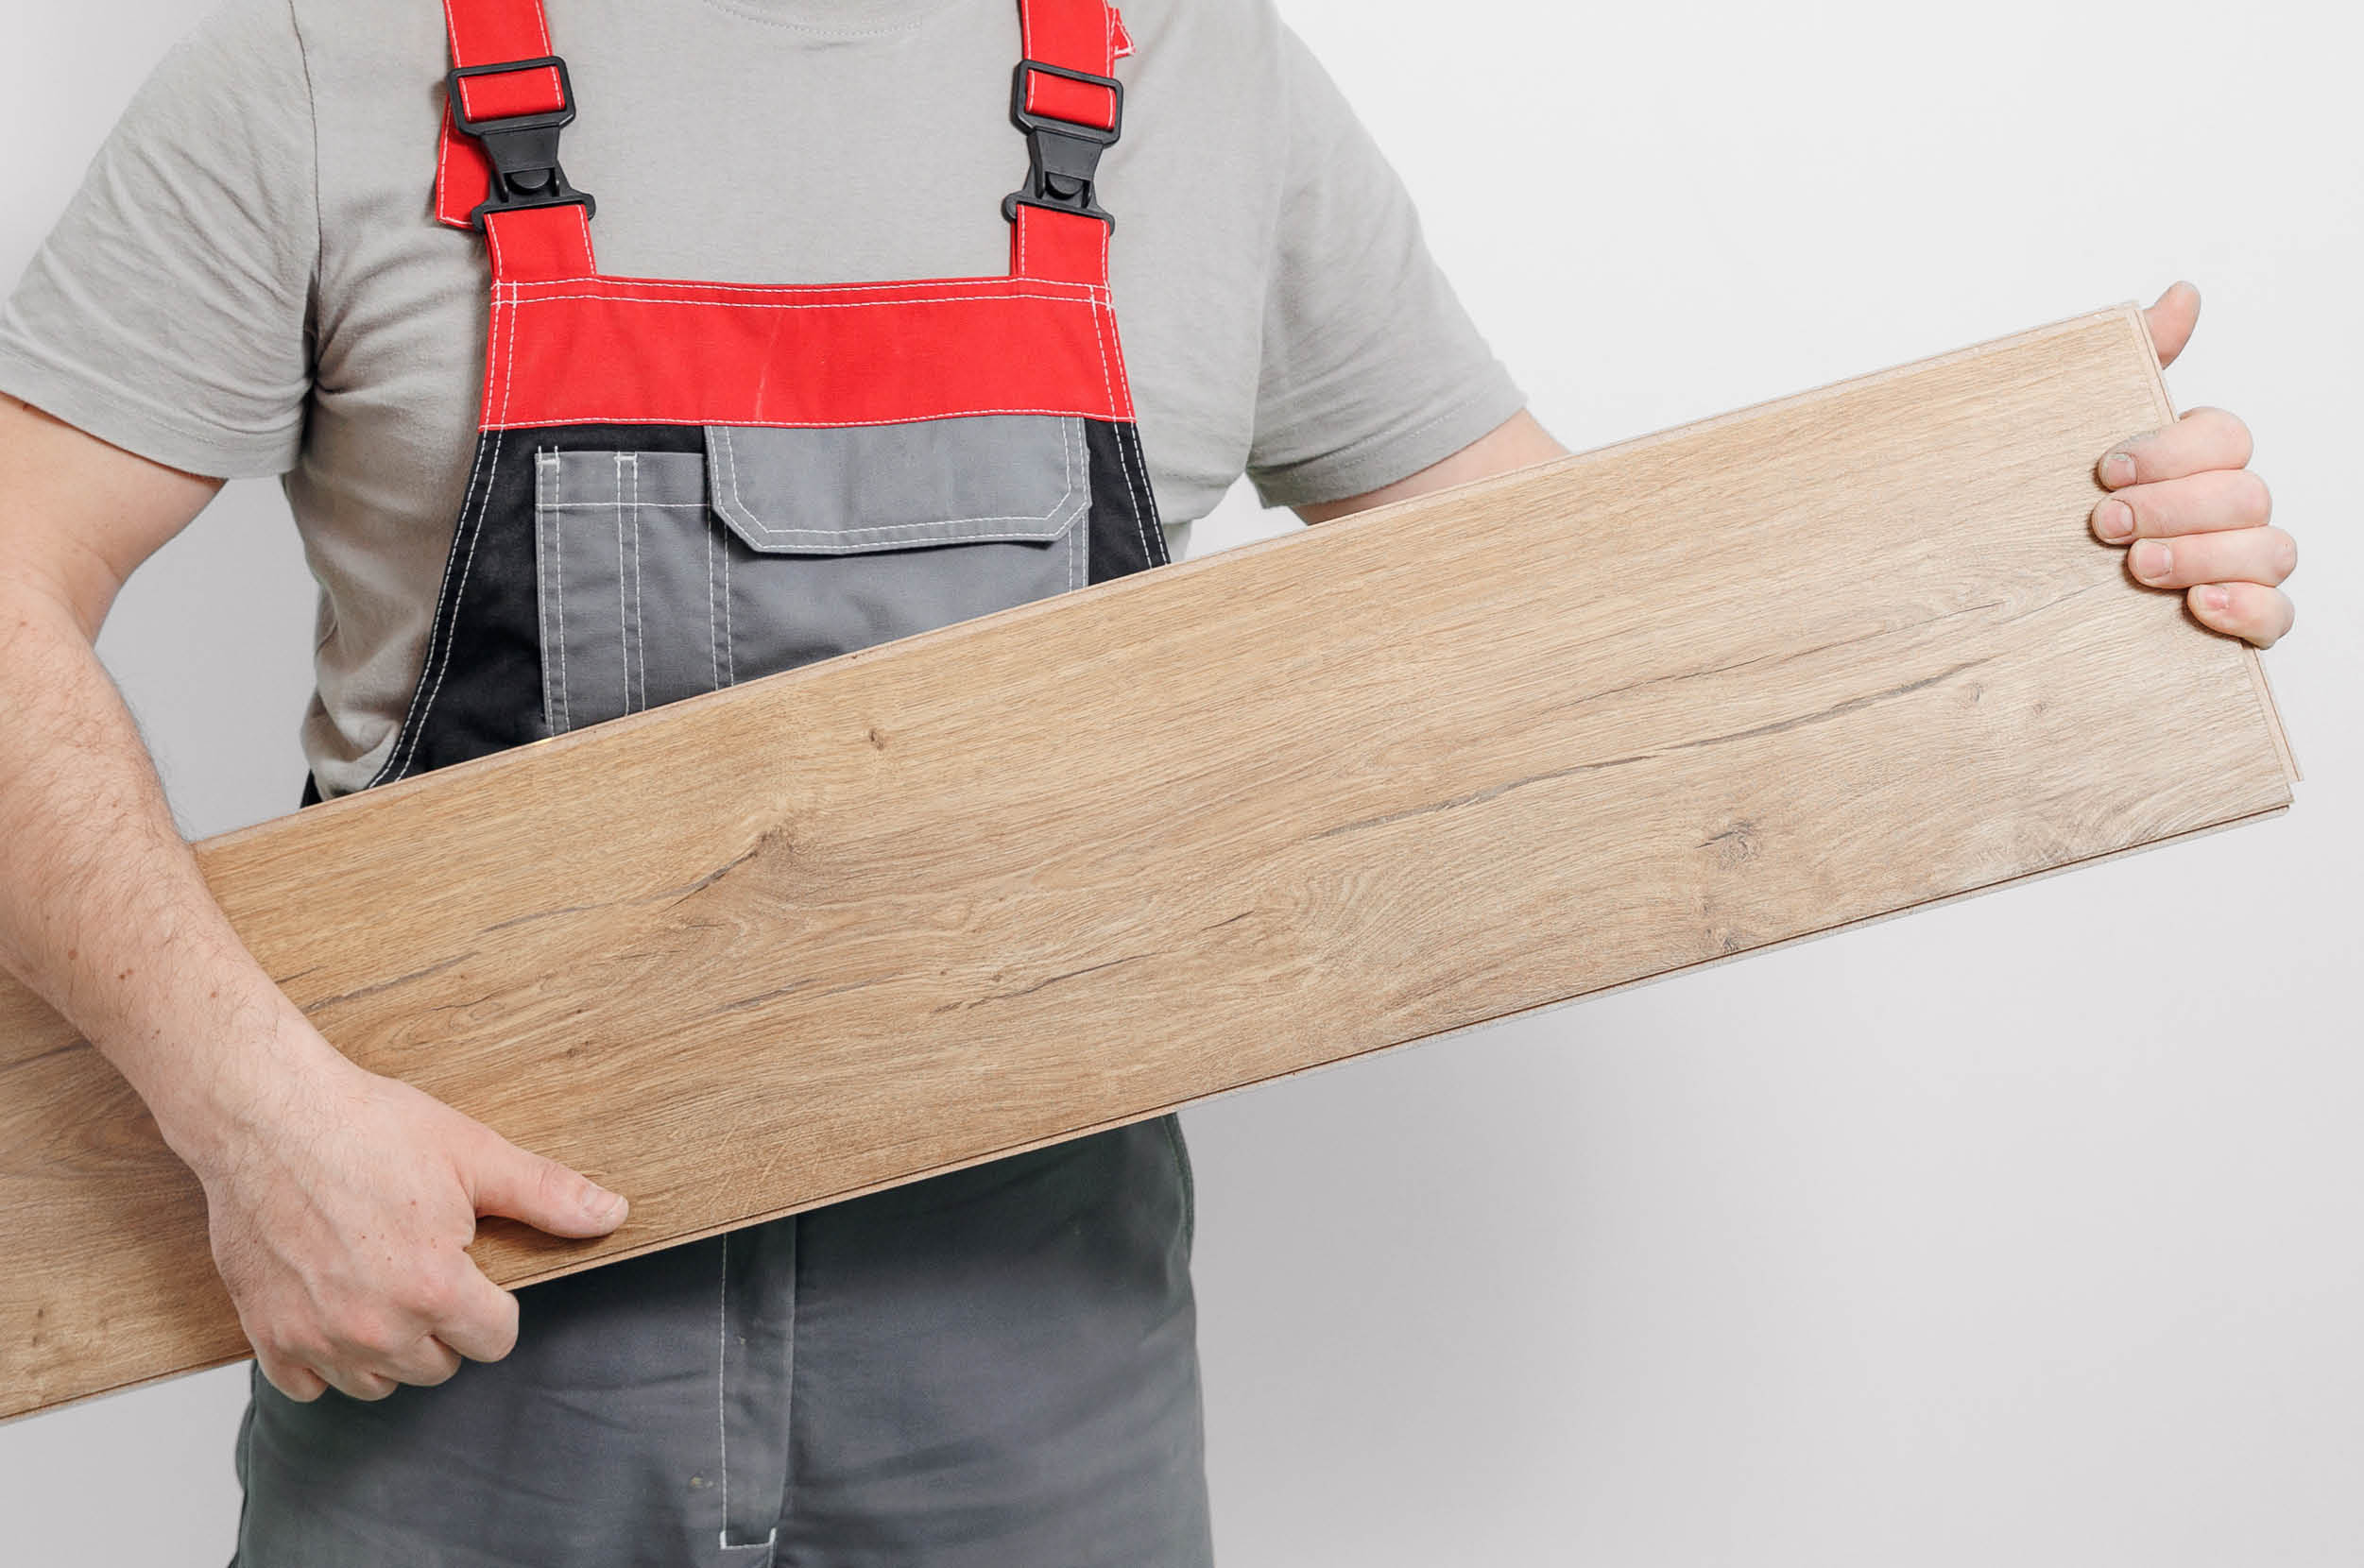
- Laminate floorboards
- Underlayment
- Tape Measure
- Laminate flooring planks
- Underlayment
- Laminate flooring guillotine
- Spacers
- Saw (circular or jigsaw)
- Measuring tape
- Pencil or chalk
- Rubber Mallet
- Pull bar
- Utility knife
- Adhesive tape
- Safety gear (gloves, safety glasses)
- Cleaning supplies (broom, mop, vacuum)
- Extra boxes of flooring (for mistakes)
- Installation kit (optional, may include additional tools)
- Levelling materials (self-levelling screed if needed)
Transition pieces (for doorways, thresholds, and edges)
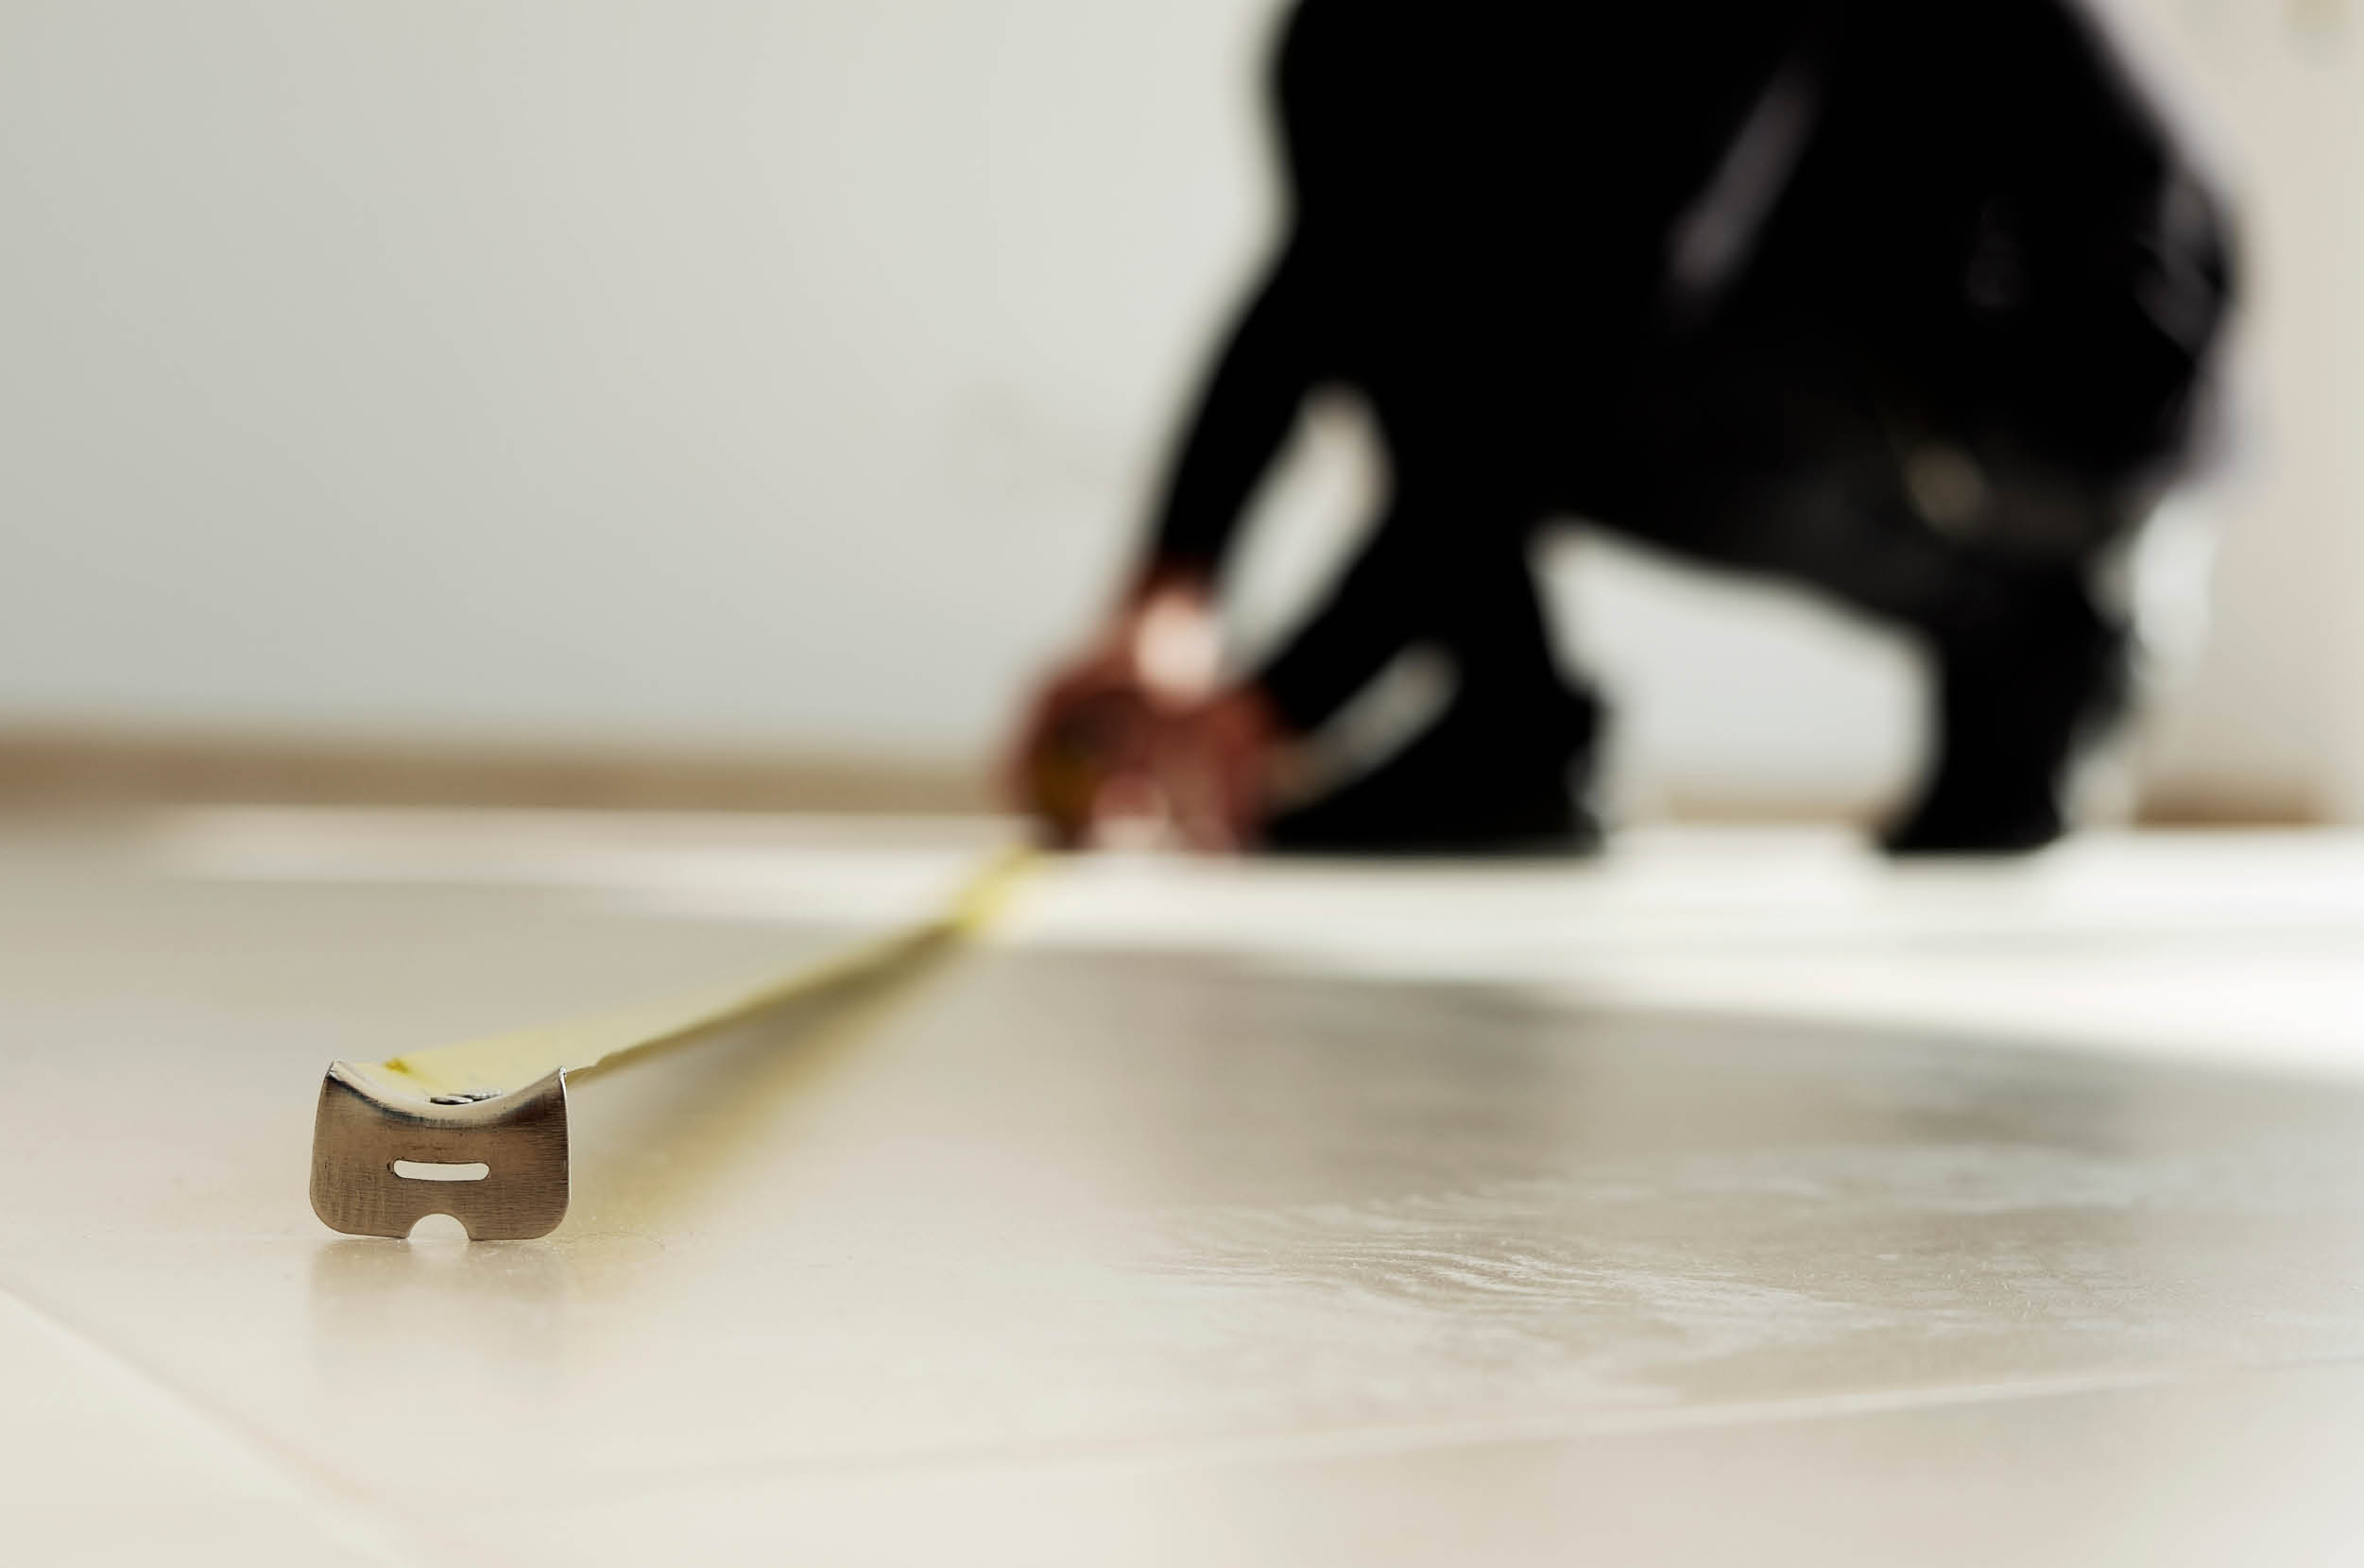
Step 1: Measure and Plan
Calculate the square meters of your room (length x width) to determine the flooring needed. When purchasing materials, consider getting an extra box for potential mistakes. There is usually a wastage of 7 to 10%.
Step 2: Acclimate the Flooring
Remove the packaging and place the flooring boxes in the middle of the room. Allow the flooring boards to acclimate for at least 48 hours. This helps minimize wood shrinkage or expansion due to temperature and humidity changes after installation.
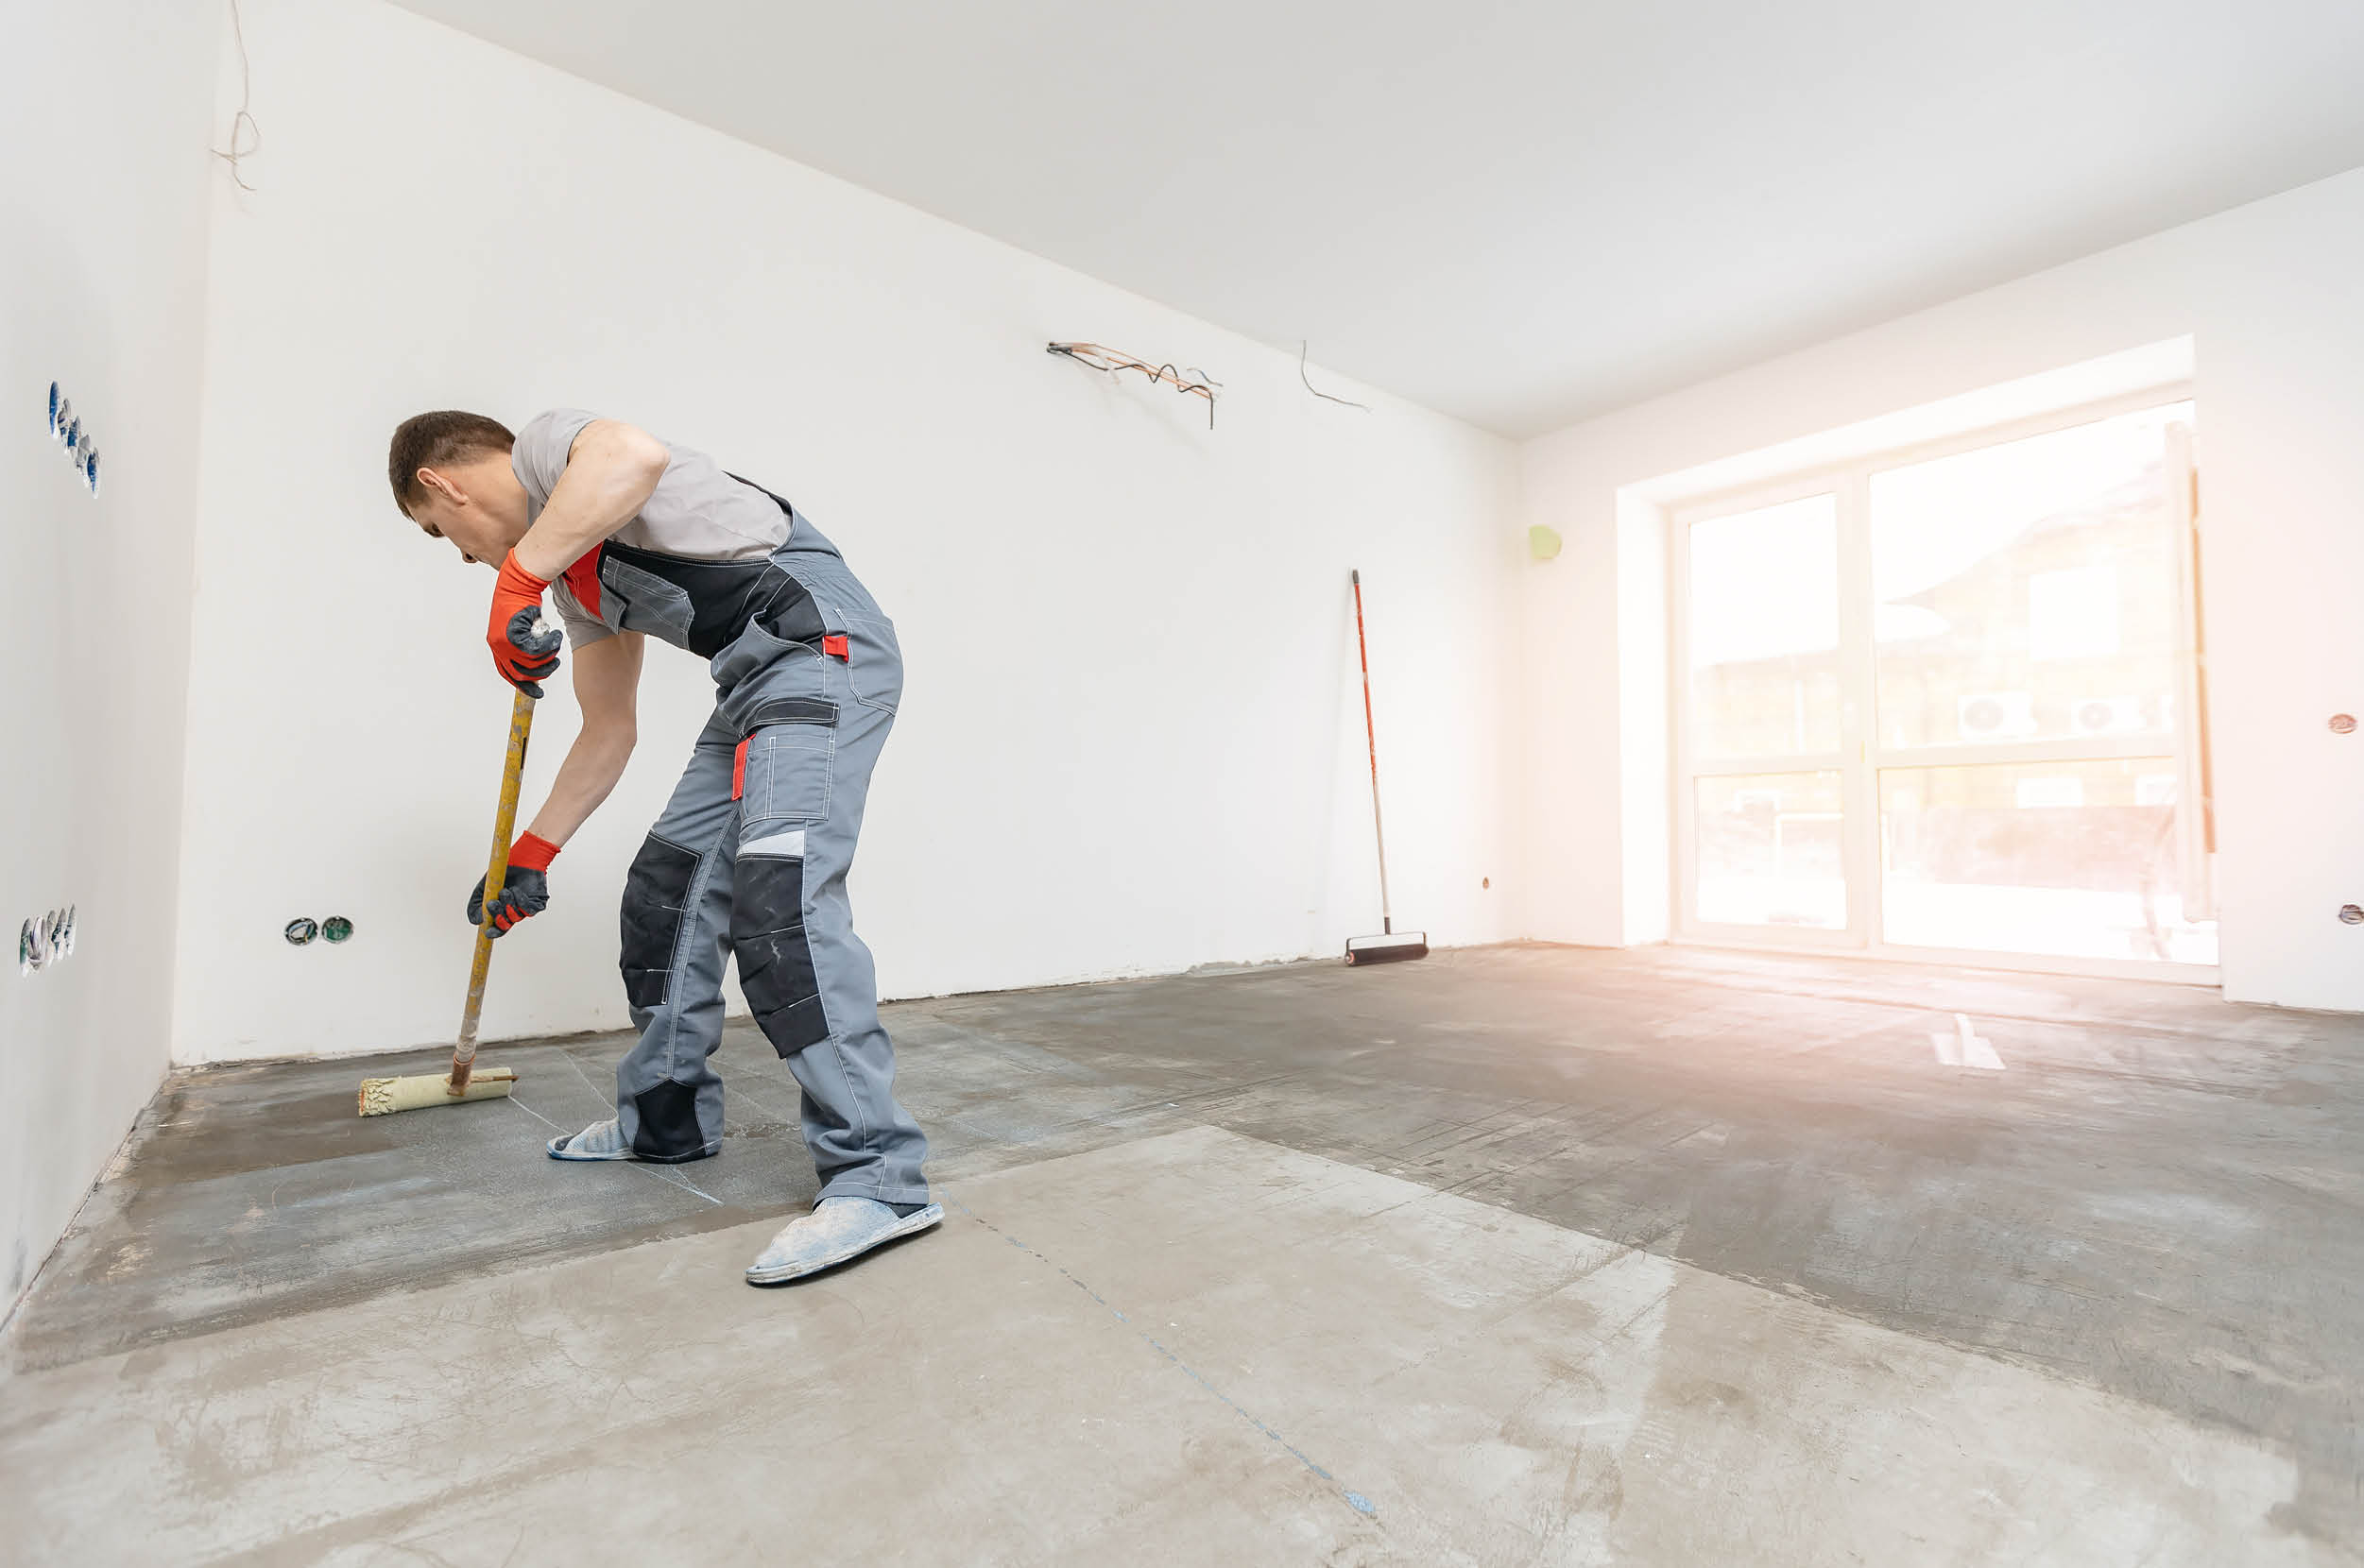
Step 3: Ensure Even Floor Surface
Before installation, make sure the floor is even. If not, use a self-levelling screed to create a smooth base.
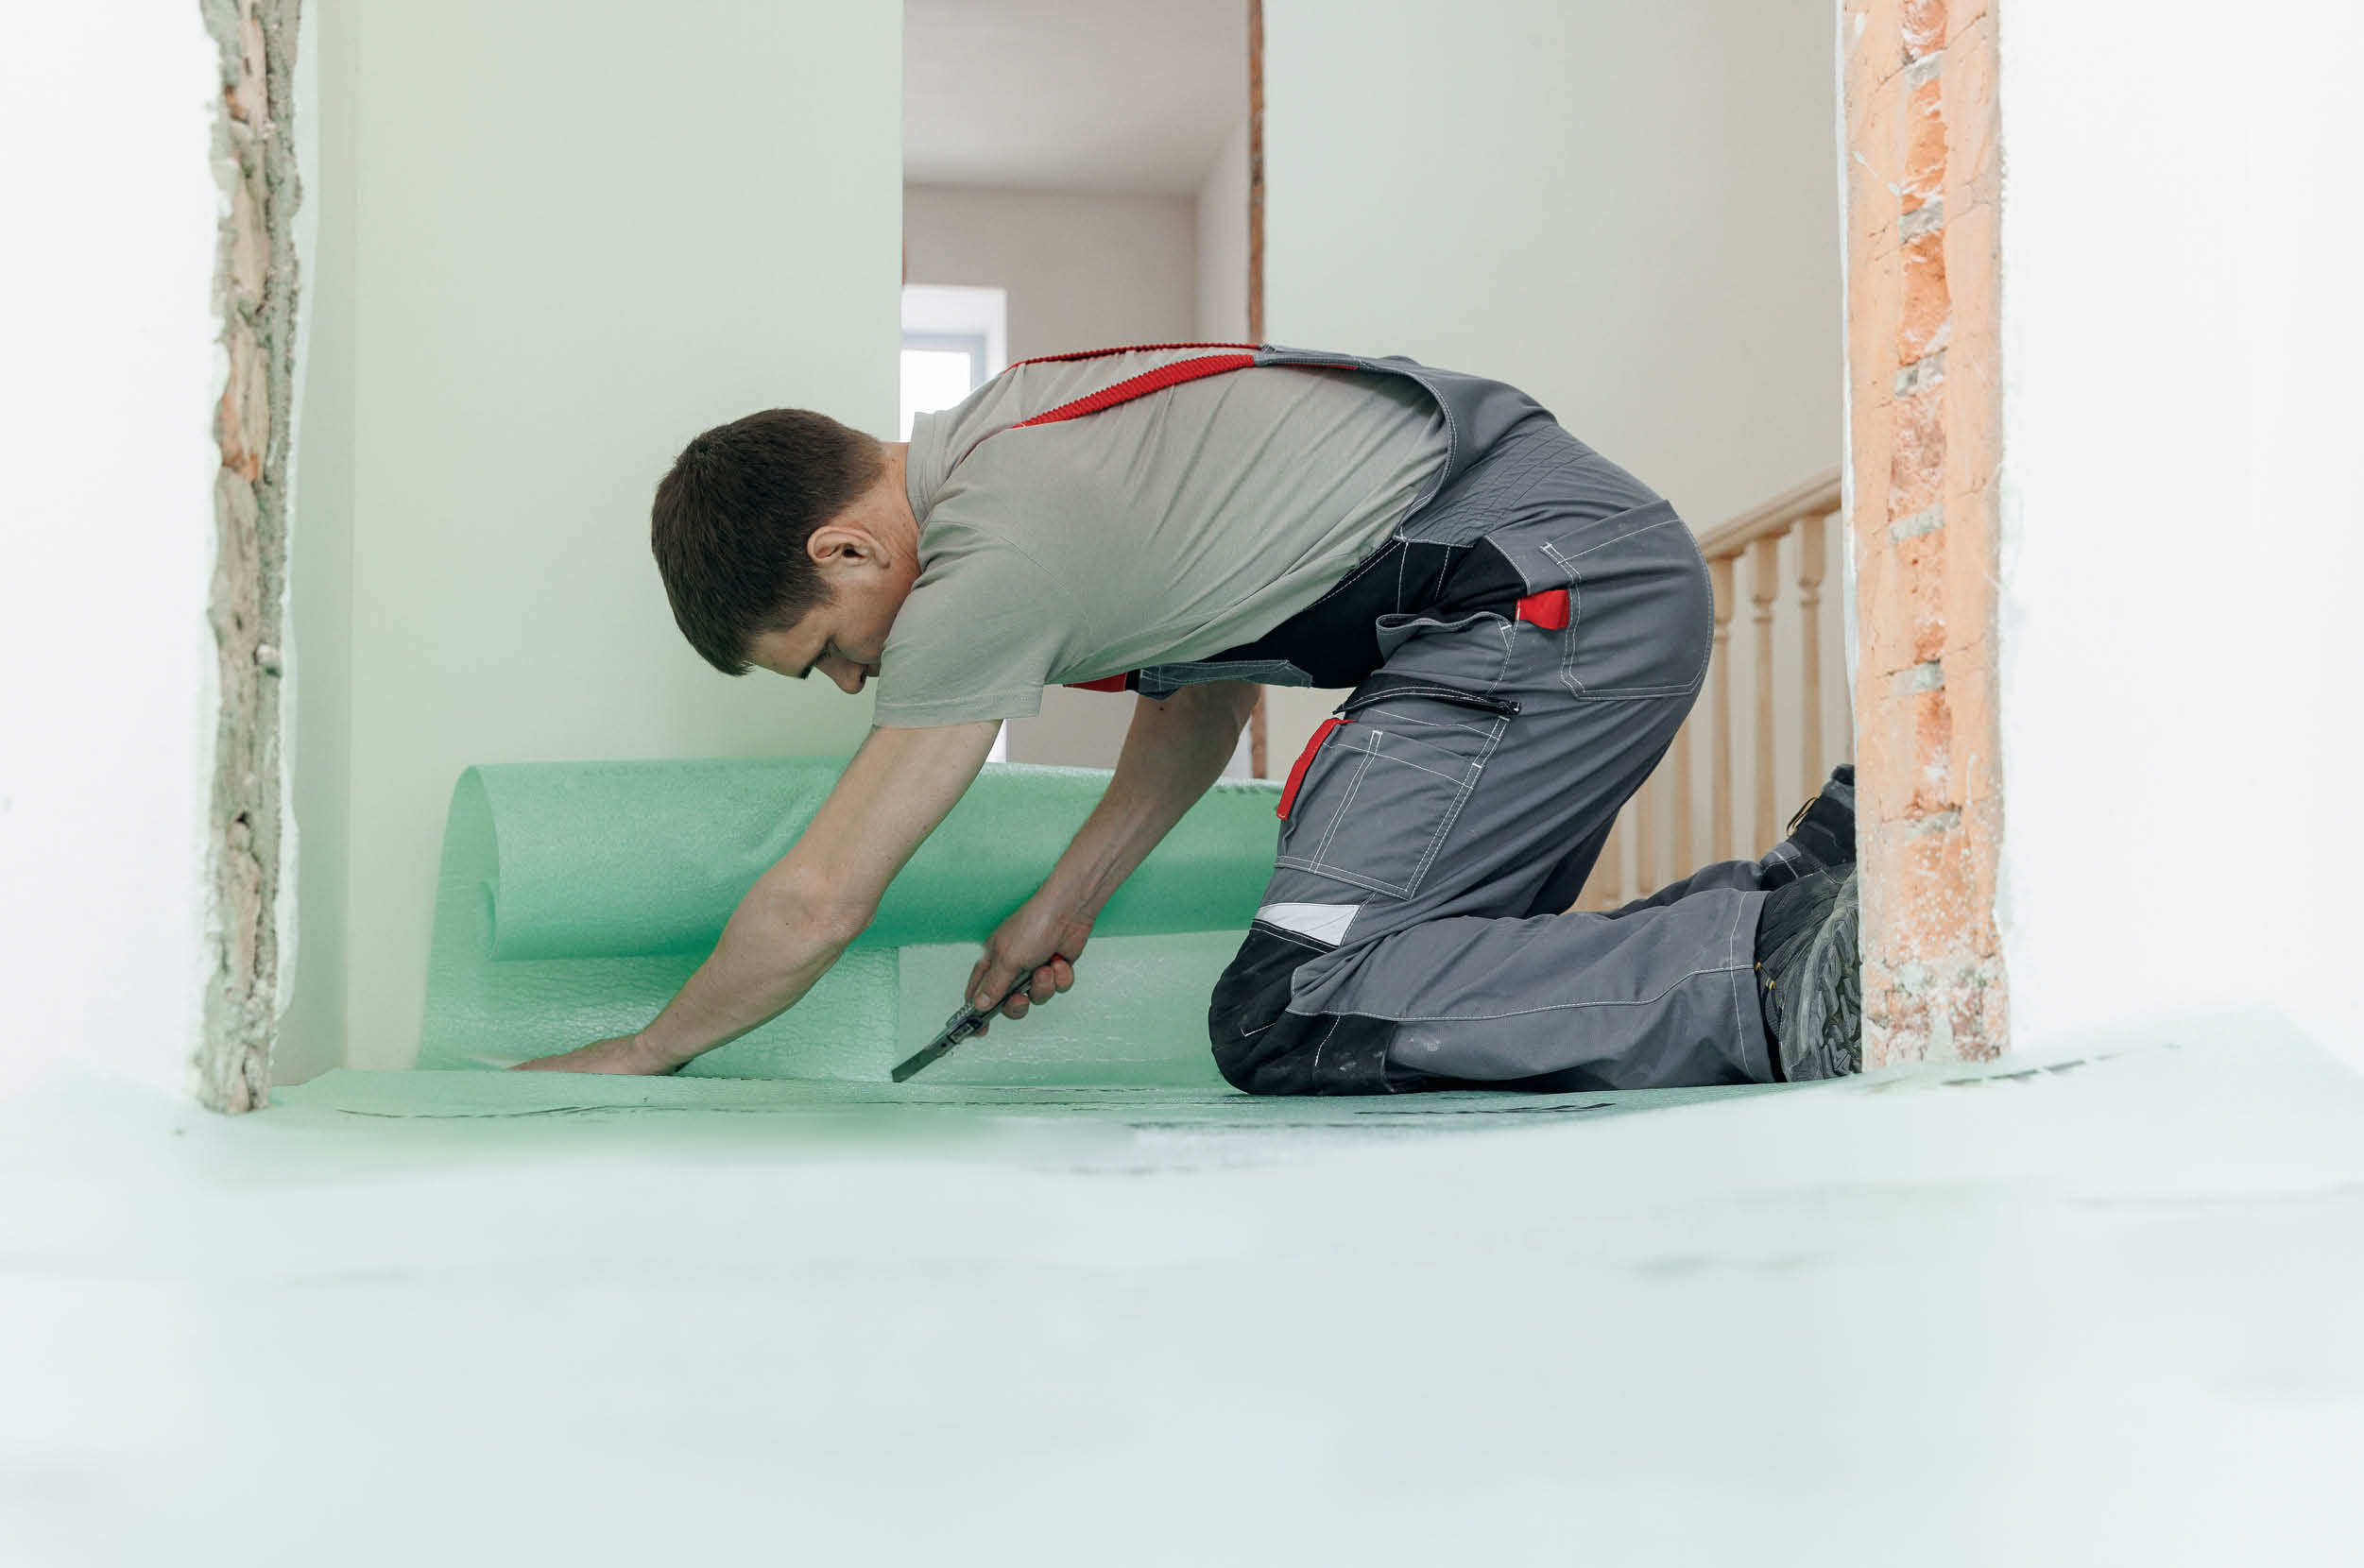
Step 4: Lay Underlayment
Clean the floor surface to prevent debris from getting trapped. Lay down the underlayment evenly and secure it with adhesive tape.
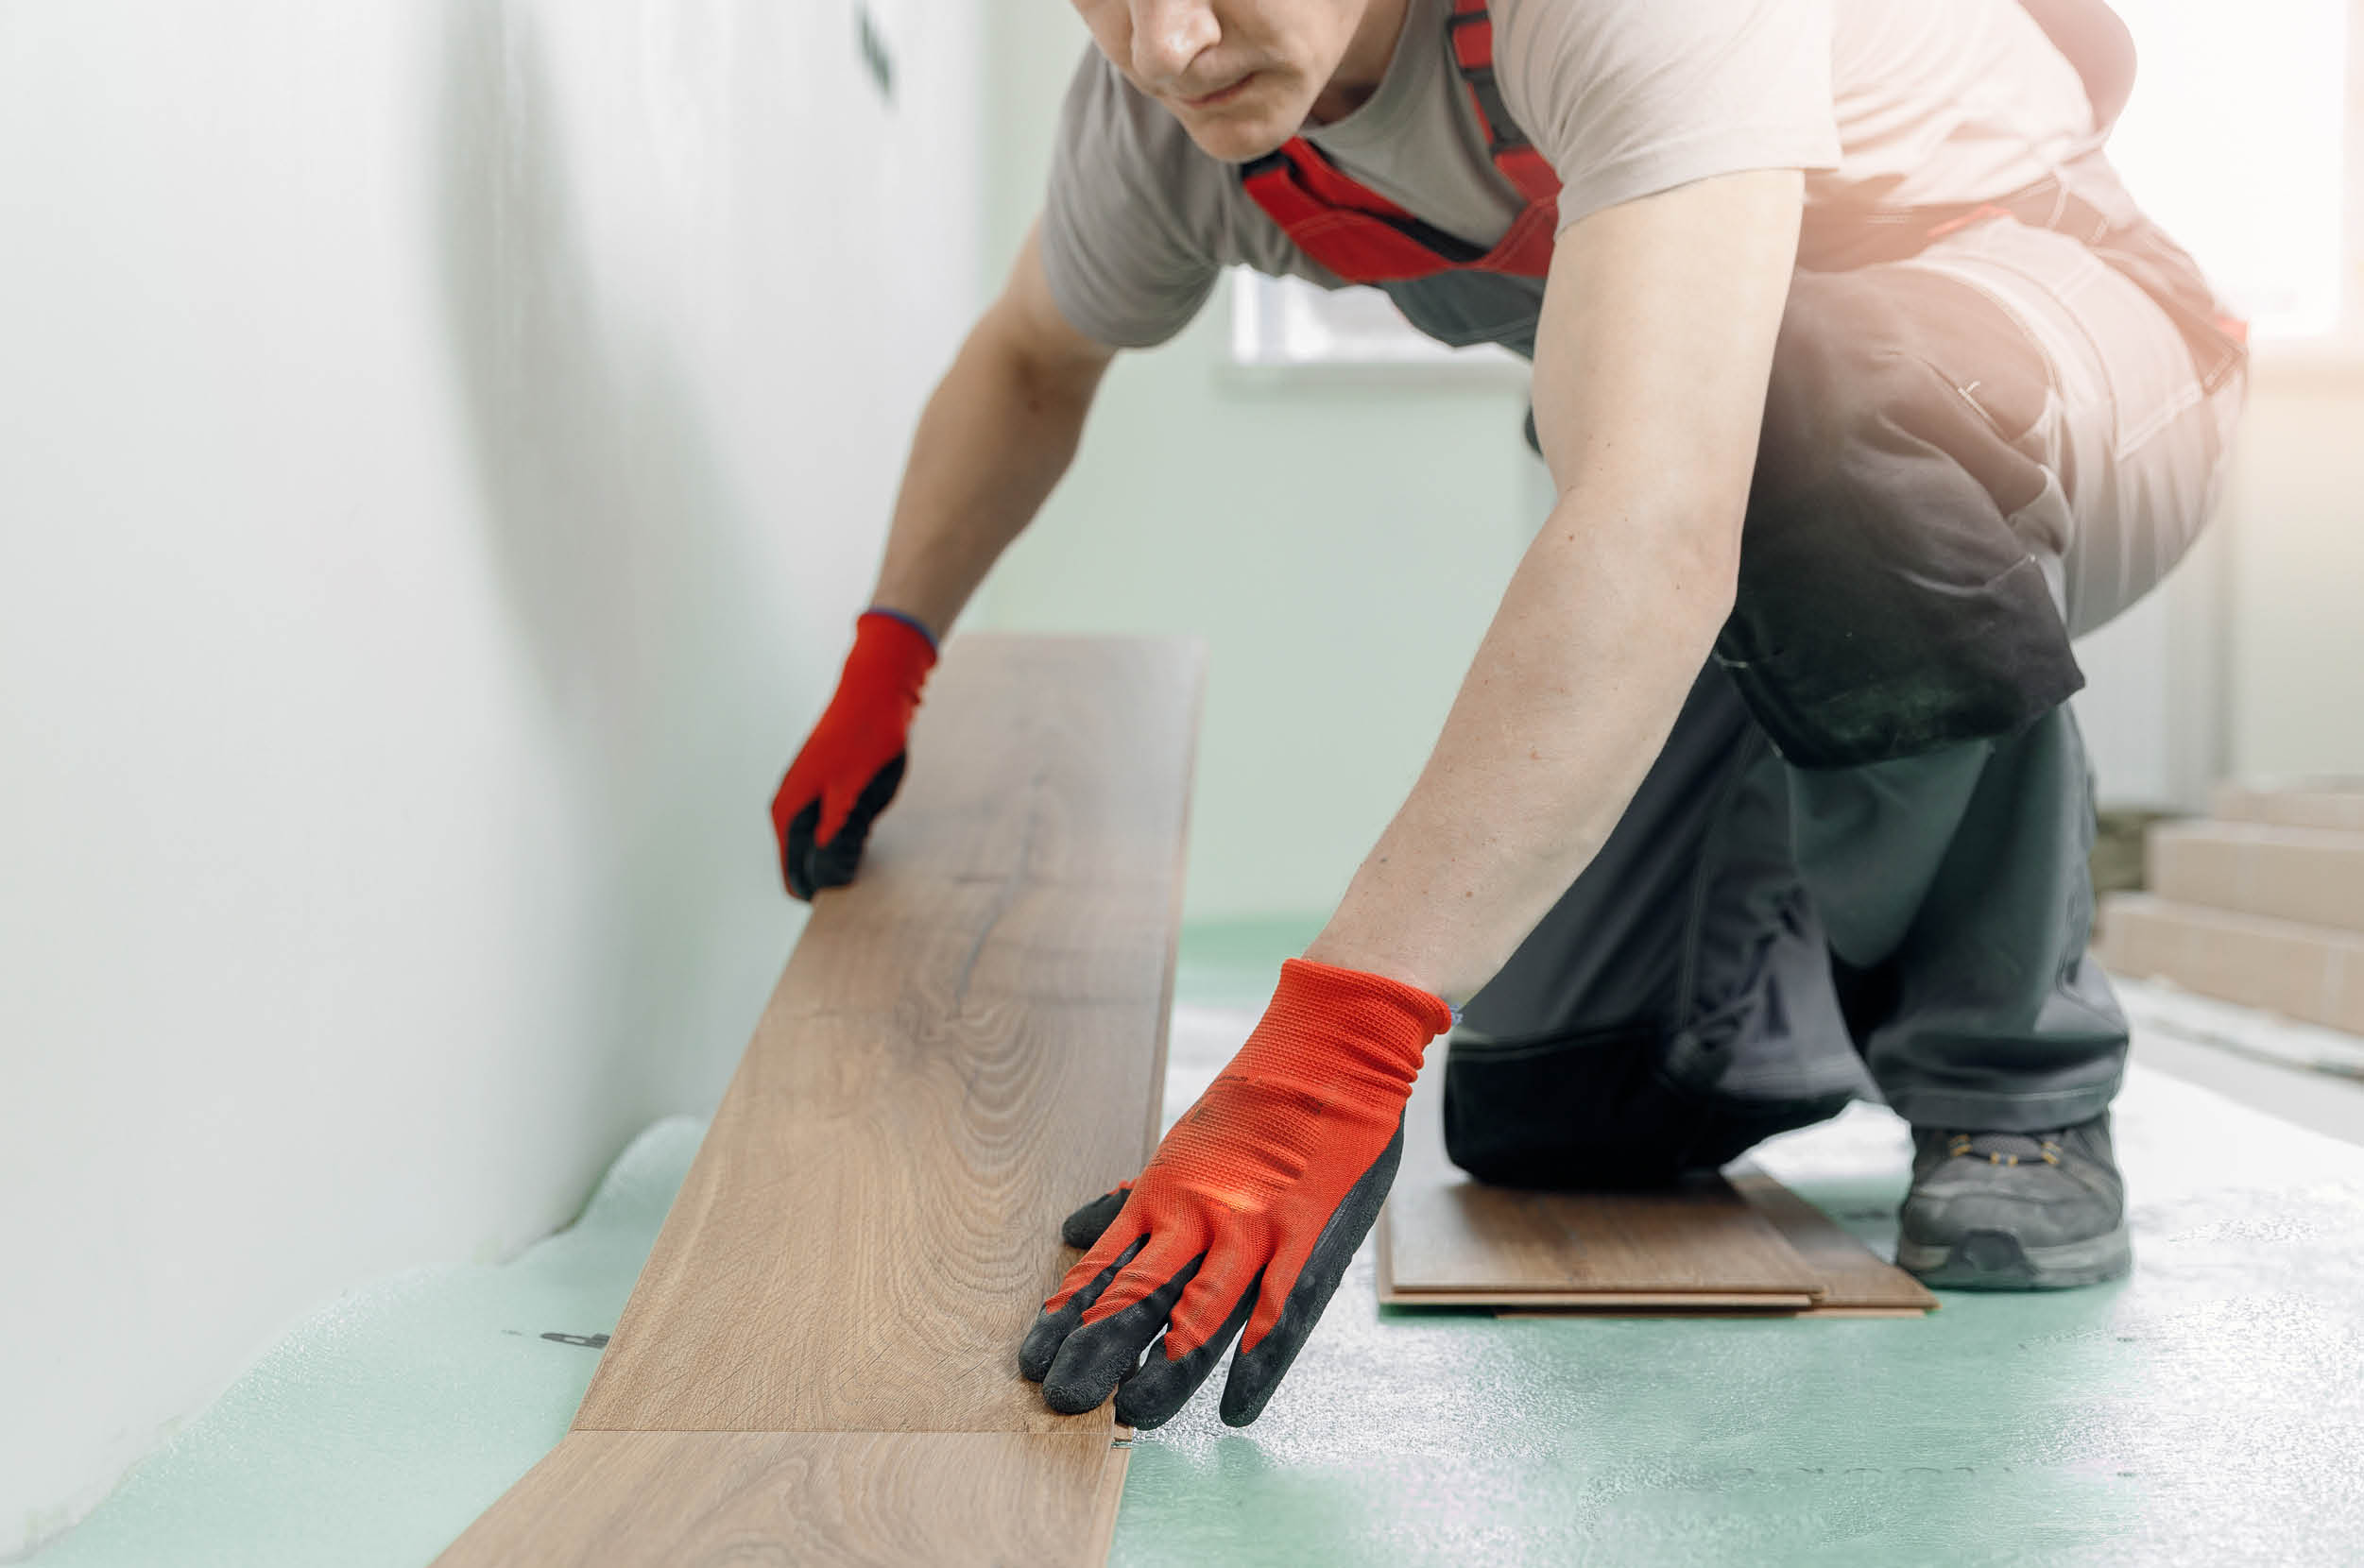
Step 5: Start the First Row
Begin laying the laminate floor from the furthest corner towards the entrance. Place spacers between boards and the wall to allow for expansion.
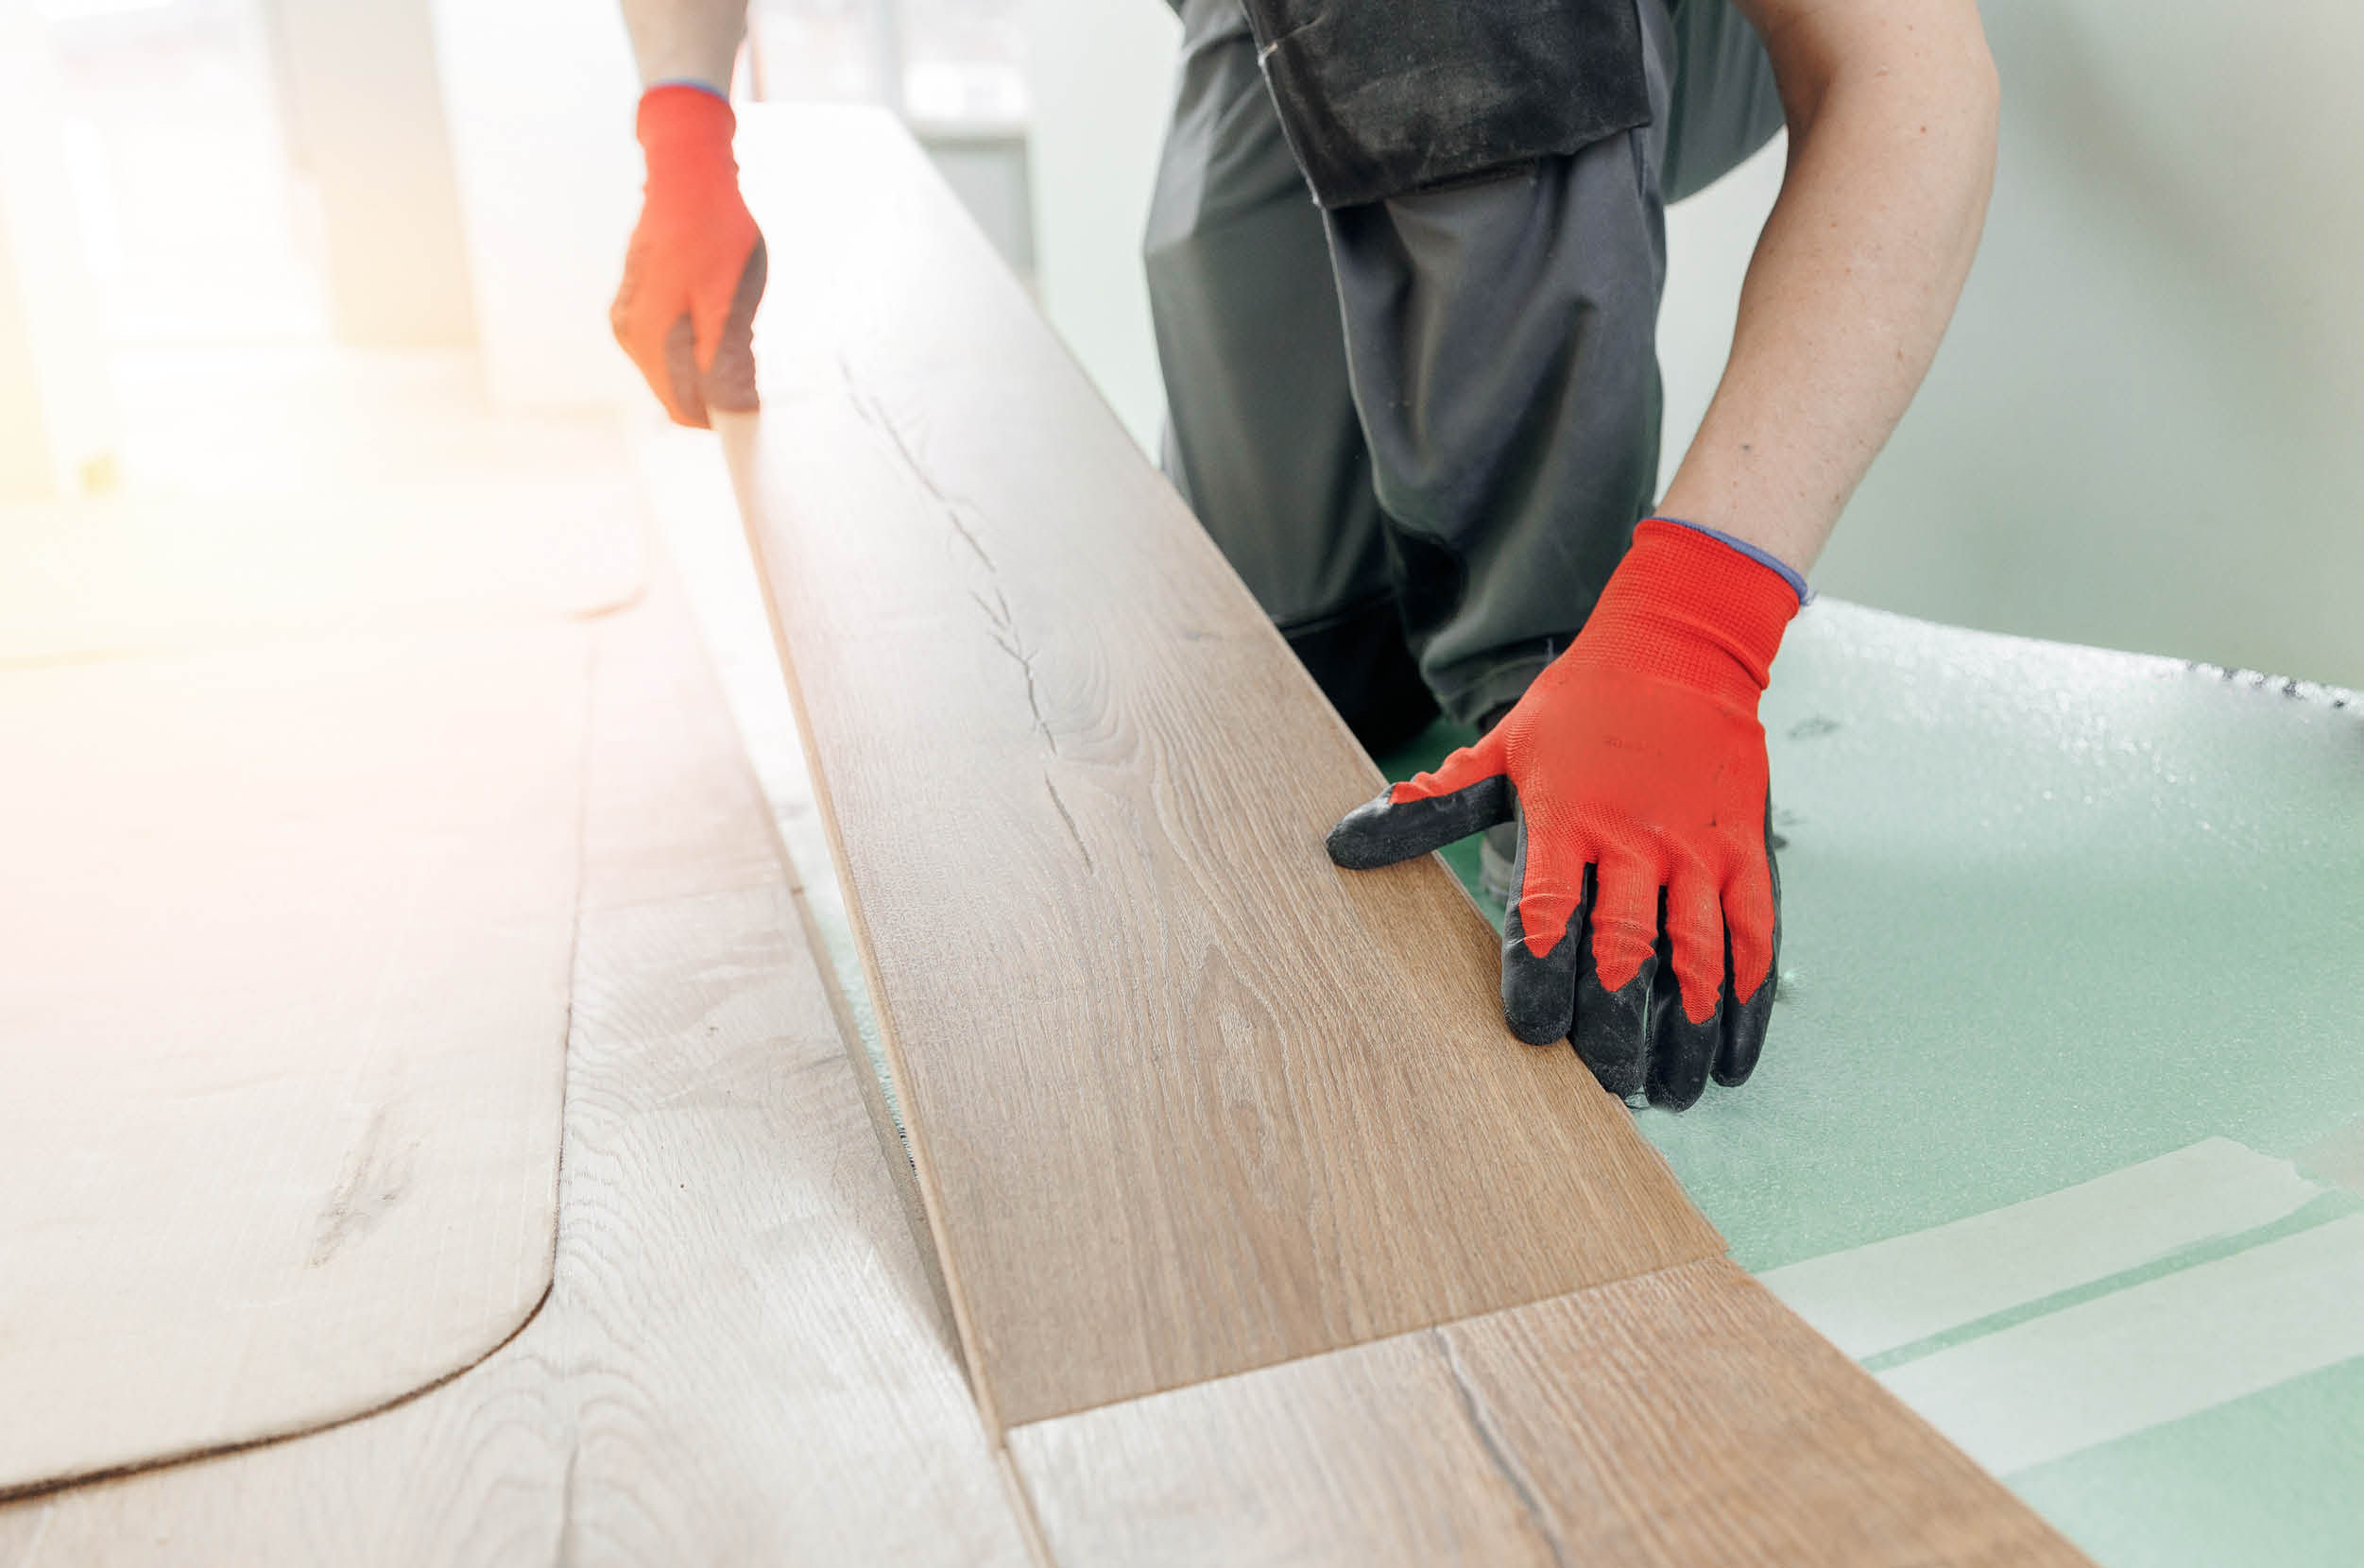
Step 6: Stagger Joints
For a stronger and visually appealing finish, start each row with the other half of the board from the previous row. This also helps avoid a uniform look.
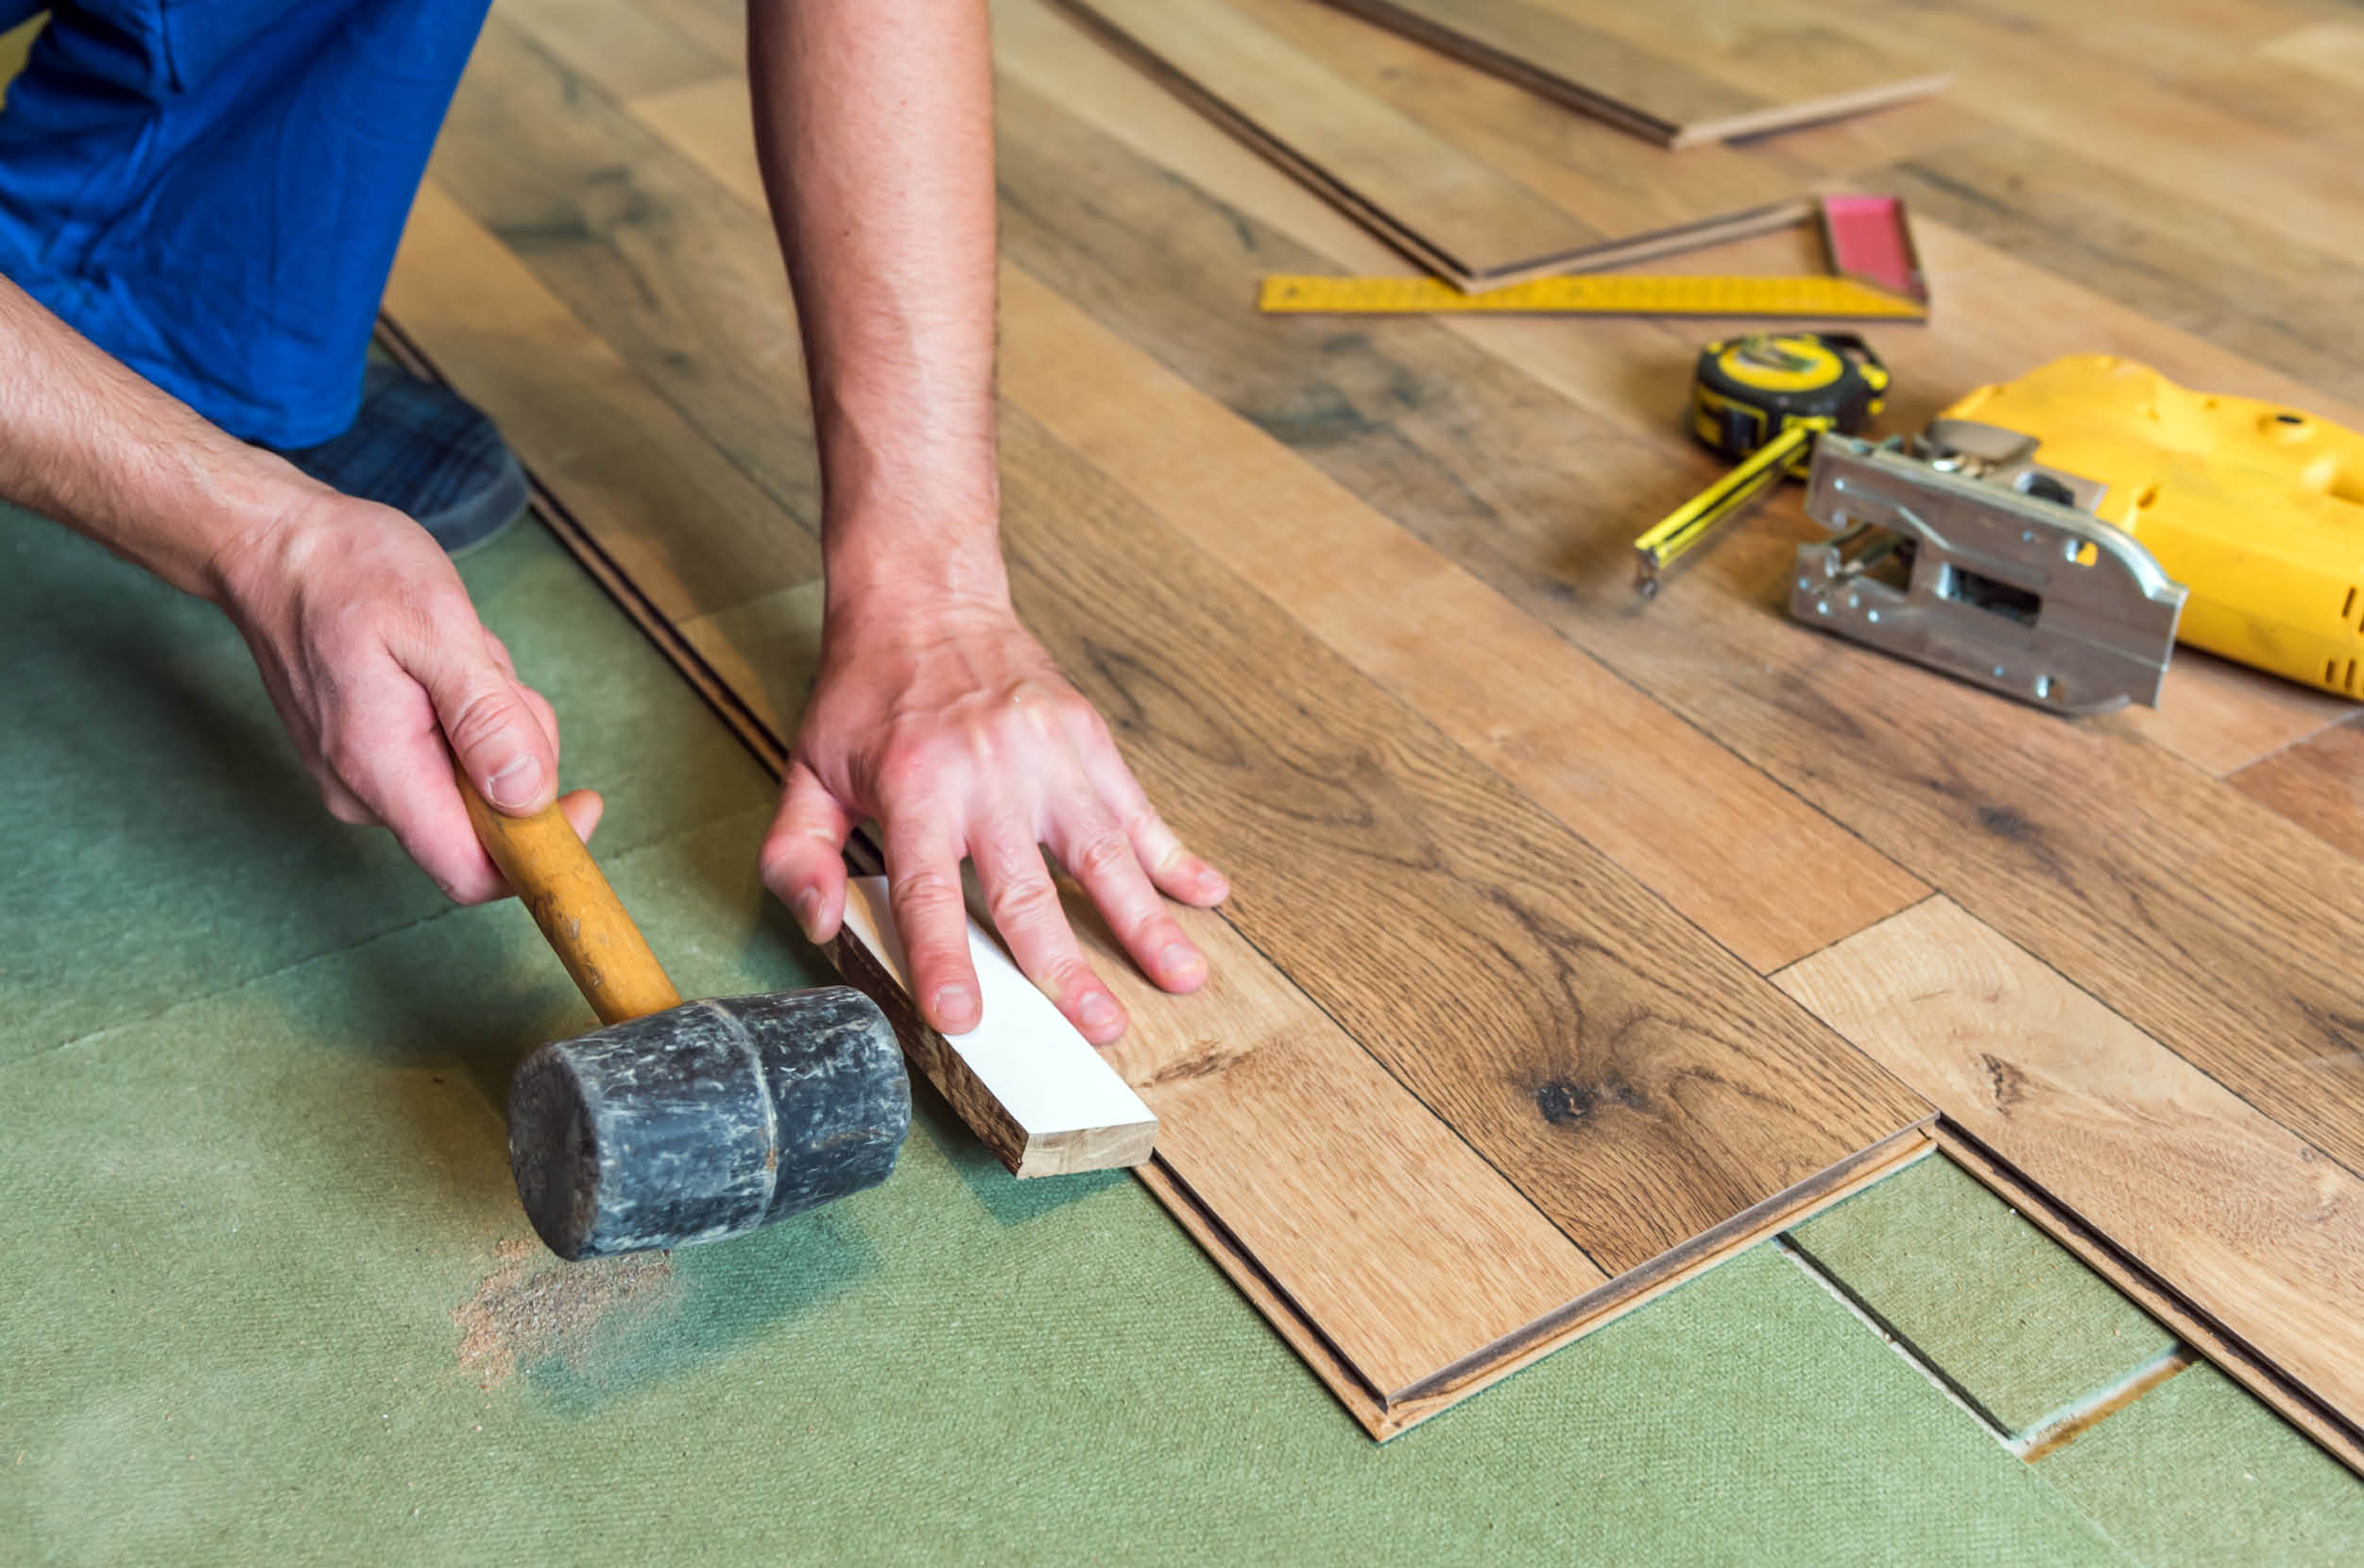
Step 7: Install Rows
Using a wooden block and a hammer, tap boards into place. Ensure a snug fit and close gaps between joints. Maintain an 8mm expansion gap all around the floor and any obstacles such as door strips. If your room exceeds 8 meters in length or 6 meters in width, use an expansion gap and cover it with a strip for proper installation.

Step 8: Step 8: Complete Installation
Repeat the process until you reach the last row. Measure and cut the final boards individually to fit the remaining space.
Inspect moisture levels.
Moisture can potentially damage an otherwise flawless laminate floor installation. Therefore, it's crucial to verify that your site is completely dry before you commence the process.
Prepare the floor surface. Prior to laying the laminate, ensure the surface is clean. You can sweep or use your preferred cleaning method. Additionally, ensure the floor is entirely dry.Prior to laying the laminate, ensure the surface is clean. You can sweep or use your preferred cleaning method. Additionally, ensure the floor is entirely dry.