
HOW TO REPLACE A TOILET SEAT
What you will need:
Replacing a toilet seat is a straightforward do-it-yourself job – no plumber needed. So, when your toilet seat gets damaged – oftentimes easily – it’s a quick fix that requires a couple of tools and a bit of time. What’s great, there’s no need to turn off the water mains. Toilet seats are available in a multitude of styles, and two general sizes: round and oblong/elongated.

BE SURE TO MEASURE THE OLD SEAT BEFORE PURCHASING A REPLACEMENT ONE.

Step 1
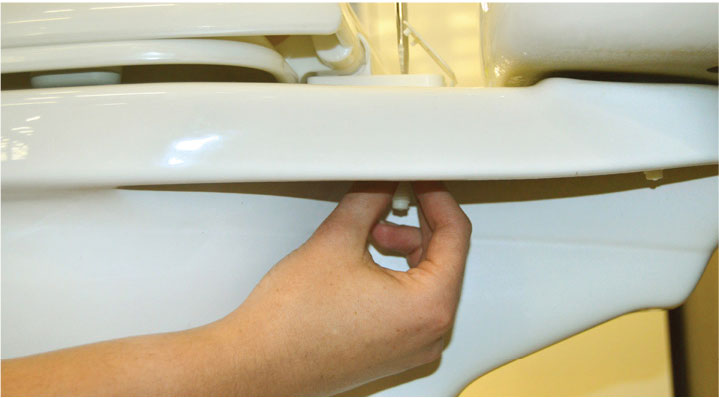
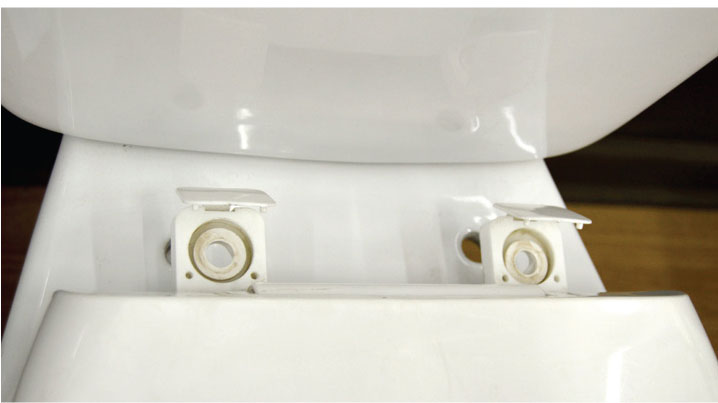
Locate the mounting bolts and nuts at the hinge of the toilet seat.
Step 2
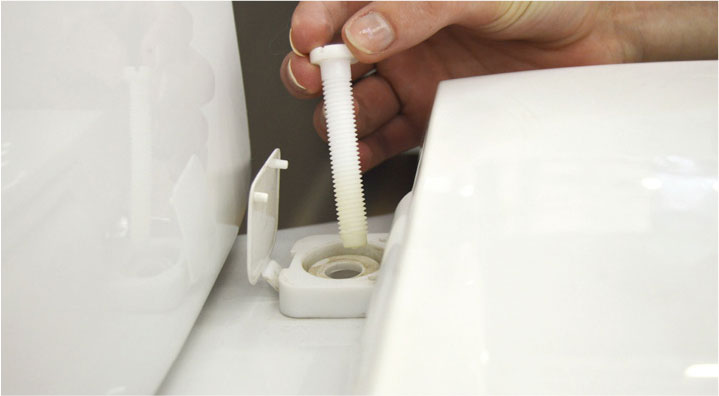
Next, place a screwdriver on one of the mounting bolt heads. Firmly holding the corresponding nut (underneath the toilet base), turn the screwdriver anti-clockwise to loosen.
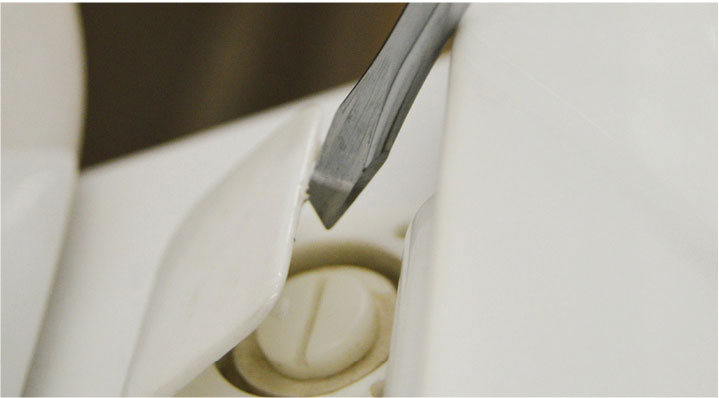
Reminder
Most anchor bolts and nuts are made of plastic, so, take care when applying force.
Step 3
Remove both sets of mounting bolts and nuts.
Step 4
Lift off the old seat. Clean the toilet base before installing the new toilet seat.
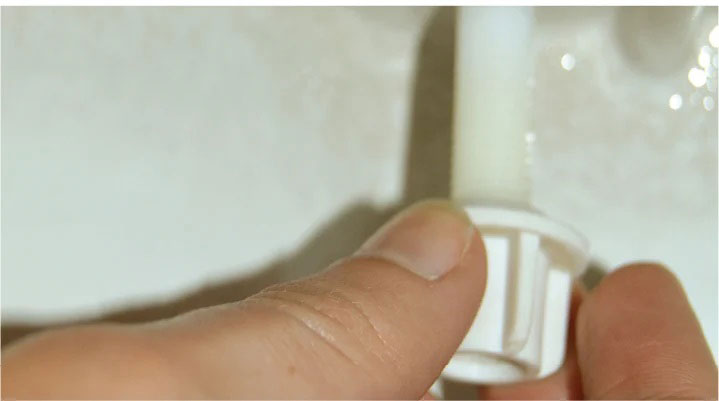
Step 5
Align the holes of the new toilet seat with those of the toilet’s base. Push the mounting bolts through the holes. Screw on the nuts from underneath until hand-tight.
