HOW TO INSTALL SKIRTING
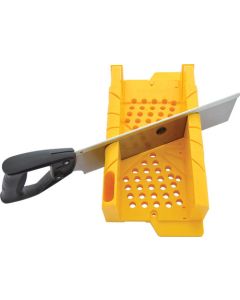
What you will need:
You may think installing skirting is a job best left to the professionals, but it’s actually, pretty easy, and something anyone can do with the right tools. Add that finishing touch to your home, and make laying down skirting your next DIY project!

START WITH YOUR LONGEST WALL. THIS WAY, YOU CAN USE OFFCUTS FOR THE SHORTER ONES.

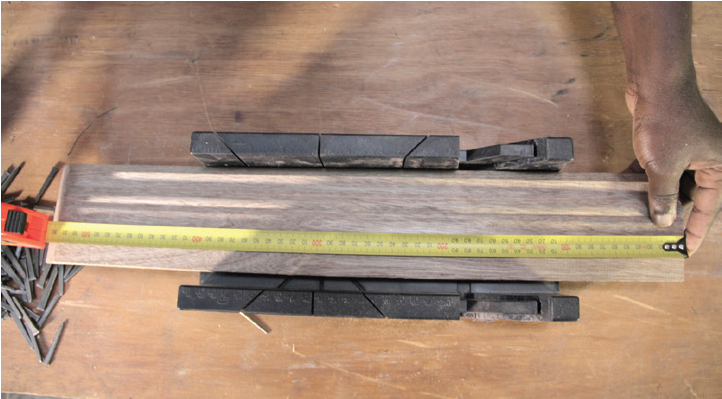
Step 1
To start, measure your walls to find out how much skirting you’ll need. Buy the skirting profile that best suits your home. Always take more boards than you need in the event of any miscalculations or mishaps.
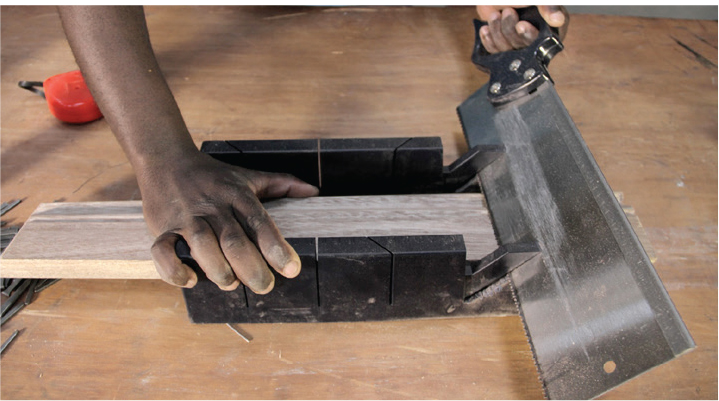
Step 2
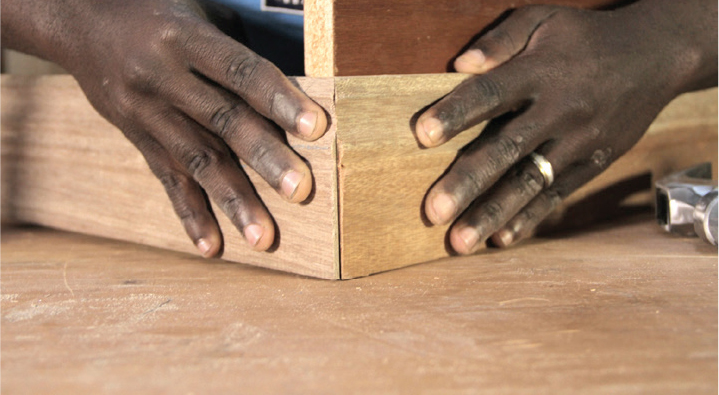
Place your skirting into your mitre box. Saw a 45° angle at the end of your first board. Saw an opposing 45° angle at the end of another board. Join the two boards together. You’re likely to join two or more boards together to fit your longest wall.
Step 3
Check that your cuts are clean and always test fit your pieces. Use a planer to smooth any jagged edges.
Step 4
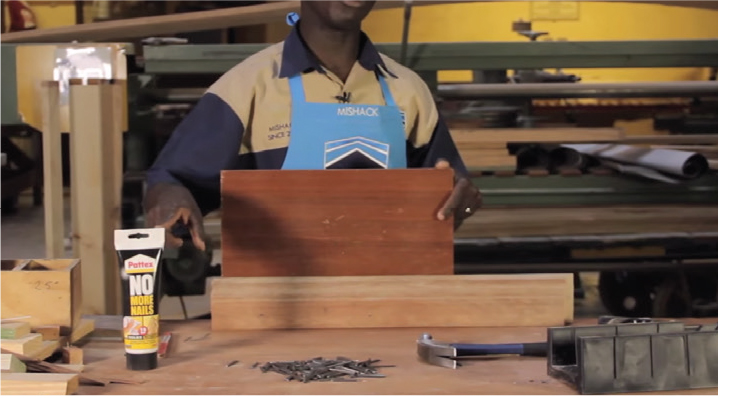
To get your skirting flush with the wall, grab an offcut, place it on top of the skirting against the wall. Push down and nail your skirting to the wall with casting nails. Alternatively, use No More Nails glue.

Step 5
Patch any holes, lines or marks that appear on your skirting. Use a sealant if you’re going to paint, or a wood filler for a natural finish. We stock all the items you might need for your next skirting job. Pay one of our stores a visit, and our team will be more than happy to assist you!