HOW TO INSTALL A BASIN PILLAR TAP
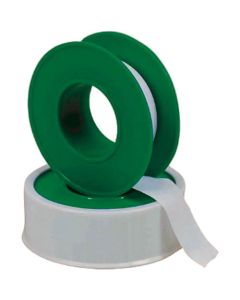
What you will need:
If you are building or renovating a bathroom or kitchen, consider the differences between mixer taps and pillar taps in order to fulfil your functional and decorative needs. Chamberlains has a wide range of design and styles; it is a good idea to check out your choices before making your decision.
Mixer Taps
Mixer taps work better with low pressure water systems. They mix both hot and cold water from separate water supplies into a single pipe sprout. Bath mixers may have a knob or handle that diverts water through a shower head, either hanging from a bracket on the wall or mounted directly onto the mixer itself. Plumbing work is minimal with mixer taps, and they are quick to install. Mixer taps are more minimalist-looking than pillar taps, lending a modern appearance to a bathroom or kitchen.
Pillar taps
Pillar taps are more traditional and thus more commonly used. They are appropriate for both low- or high-pressure arrangements. The typical pillar tap has a single outlet for both hot and cold water in either basins and bathtubs.
Fixtures like water taps are integral part of your bathroom or kitchen décor, so it is important to choose functional taps that also look good. Consider your plumbing needs, desired look and your budget when choosing between mixer taps and pillar taps.
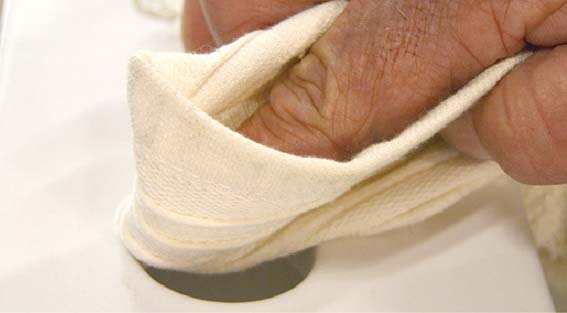
Step 1
Clean the tap hole in your basin with a rag. Turn off the water supply to the kitchen tap otherwise you’ll get spraying or major leaking. Either turn off the water supply to your entire house or close the shut-off valves located under the sink.
Step 2
Unscrew the tap nut from the pillar tap.
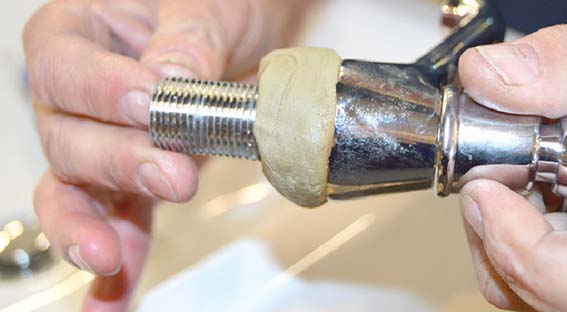
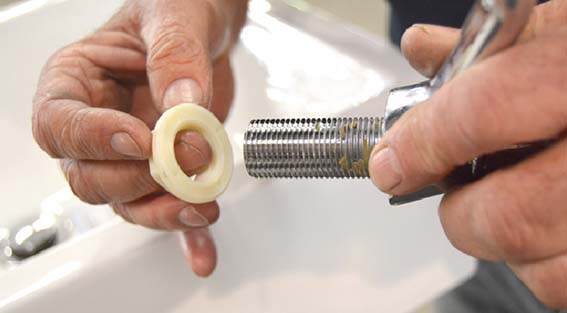
Step 3
Put a ring of putty at the bottom of the pillar tap.
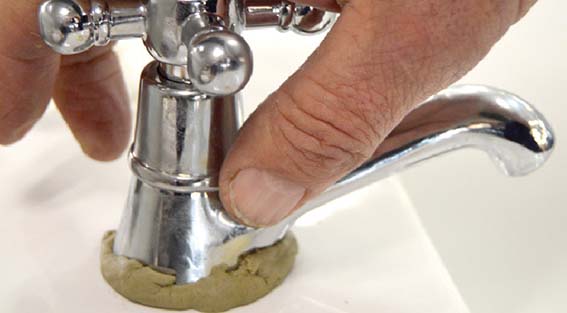
Step 4
Place the threaded part through the tap hole in your basin, and hold firmly.
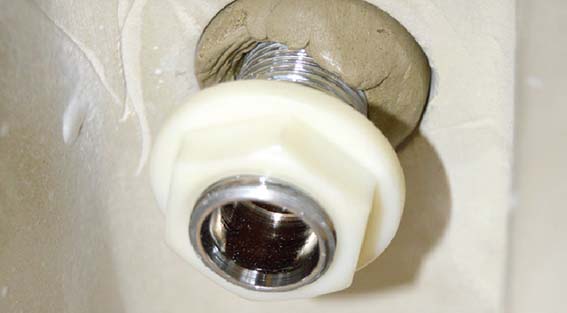
Step 5
From the bottom side, take a nut and washer, fasten the washer to the threading and then tighten the nut with your fingers until tight, while holding pillar tap secure in place.

Step 6
Clean the excess putty with a sharp soft object. After you have correctly assembled the tap and securely attached it to the sink, connect the supply lines.
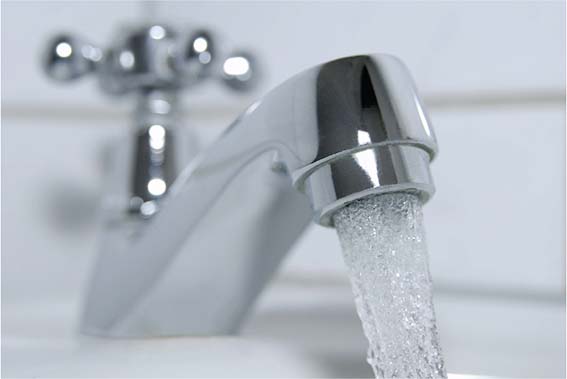
Step 7
The supply lines connect to the shut-off valves below the sink. Attach the hot to the hot and the cold to the cold. Check the copper tubing or Pex pipe to accommodate the lines, but don’t move them more than necessary. Now turn your tap to see your new fixture.
LET'S HELP YOU START
-
 Household Waste Rags 5kg PC0900CTSave R 30 Special Price R 109.00 WAS R 139.00